
L o v e
Definition of relationship: The way in which two or more people or things are connected, or the state of being connected.
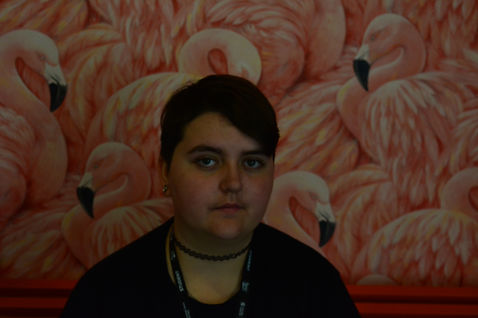
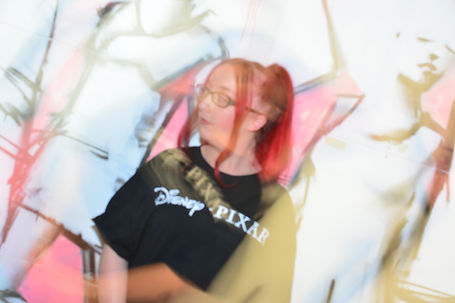
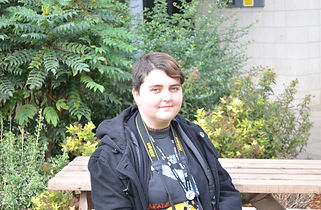
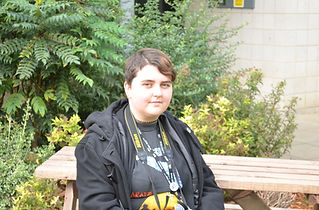
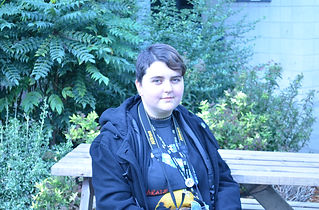
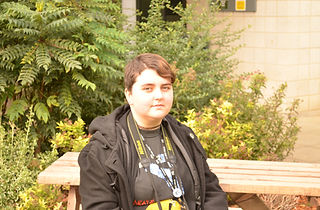
This Project will mainly revolve around relationships. Any healthy relationship is nothing without mutual Love and respect wether its family and friends or your other half. You have to do your part to make sure they feel just as involved and important as they make you feel. Primarily I will be focusing on the relationship between me and my other half. here are a few cute photographs of other relationships:


Of course what you and your partner do have nothing to do with anyone else but being able to take confident photos together and of each other means that you are comfortable in the relationship and trust the other person. It is also a cute sentiment to look back on especially if the moment shows how happy you both are.
Take 4 images
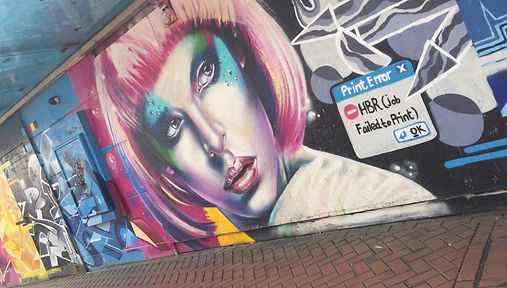


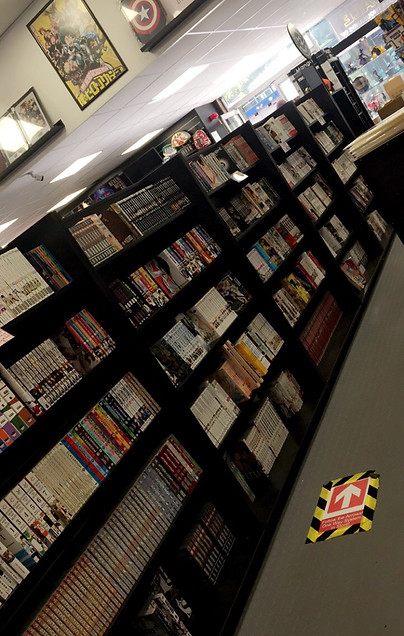
The theme of love that I used was sort of different as to what you would expect. The images above were taken on a day out with my other half in Birmingham. Typically I was going to focus more not the relationship side of love but that was proven slightly difficult when your partner doesn't like having their photo taken. The images used are supposed to represent what we saw and that we saw them together. All 4 photos were taken in the same area, the street art was round the corner from the comic book shop as shown on the right. there were a lot more images but I preferred these because of their higher contrast, bold colouring and quality most of the others were quite low quality.
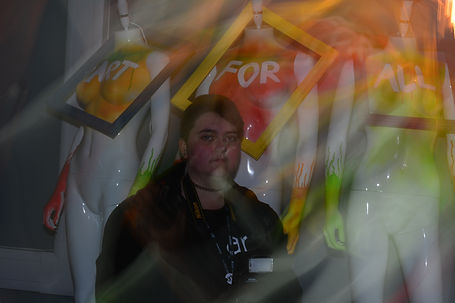
Flash Photography.


Flash photography seems quite simple when being explained their sole purpose is to emit a short burst of bright light when you release the shutter. This illuminates the subject or room. Its that simple. Although in my experience with flash photography you are at constant risk of over exposure or under exposure far to easily.
Above are some images of my experience with flash photography. In all honesty I struggled to grasp the physical concept at first but slowly started to lean into it as getting the perfect ISO was difficult and often made my images too harsh and dark or way too bright. These images aren't as "abstract" as Id hoped they'd be because I couldn't get ahold of flash fast enough in the window of time I was given. With a lot of practice I think I'll be able to improve on this area of photography. Typically I wouldn't use this kind of photography in my own work but its good to know and be up to speed with the variations of photography.
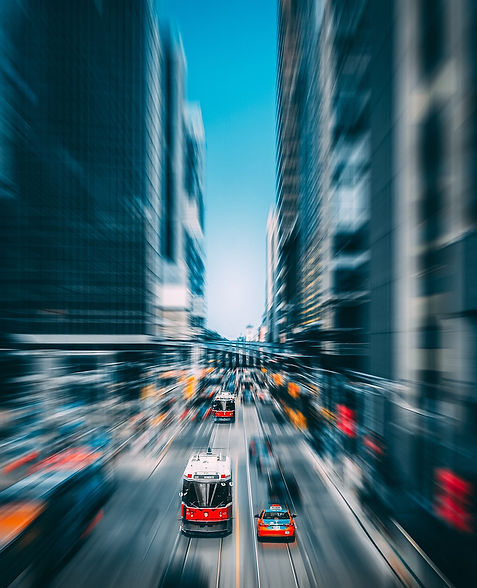
Panning & Zoom Blur


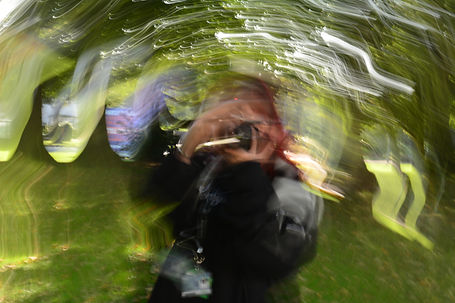
Panning is done by using flash and tilting the camera slightly after taking a photo it creates a sort of disoriented effect where as with Zoom blur instead of moving the camera you move the lease itself after taking the photo so its as though you're falling forward or backwards into the picture.
In my opinion panning and zoom blur are one of the funnest methods of photography. Its as if the background and subject morph together though at the same time the subject is quite clear. In some cases however the subject can also become morphed and unrecognisable, of course its best to be careful of that if your subject is the main source of the photo. My attempts May not be as glamorous as the images below but I'm still proud for my first try.


flash Zoom


Flash zoom refers to how wide your flash will spread the light. Some flash units do not have a zoom option. In an automatic flash zoom mode, the flash will detect the focal length of the lens mounted on your camera body, and adjust the light spread the flash emits to match the angle of your lens. This has been successfully shown through my work above, as you can see the how the flash gradually focusses on my subject. They start off dark and gradually gets illuminated by the flash as for the back ground it crates a dim spotlight effect.
Outside Flash Exposure


I'm a paragraph. Click here to add your own text and edit me. It's easy.
Auto White Balance


This is my first attempt at white balance. As you can see the Photos are mildly out of focus and blurry however using the different settings under white balance You can see a shift in colour this is because all light has a colour temperature. High colour temperatures shift to a blue where as low temperatures shift to a red. Different light sources emit light at different temperatures and thus the colour cast
Heading 1


I'm a paragraph. Click here to add your own text and edit me. It's easy.
Multiflash
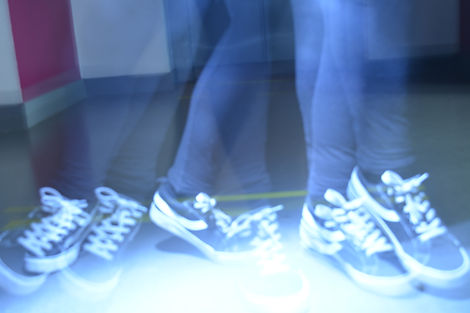


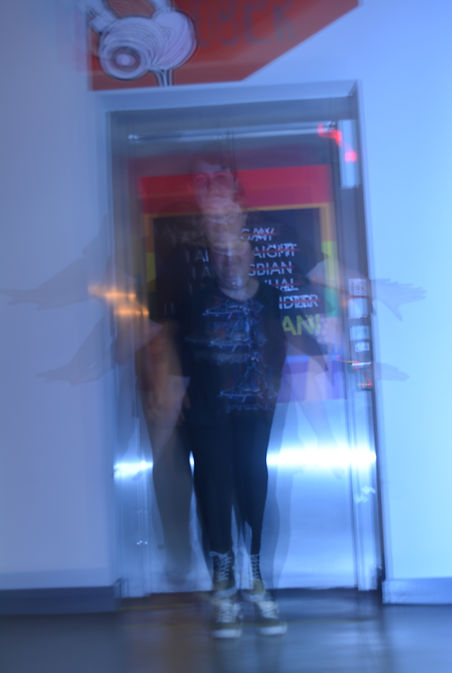


Multi flash allows the flash to go off multiple times per shutter click. You can set how many times it will fire and at what time interval those flashes will go off. In my experience with of camera flash you have to use the test flash (which is usually a slightly larger red button) on the flash gun. The flash was used to illuminate the subject as they move, this was achieved when the settings were RPT (repeat) 1/32 this means that the flash would repeat itself 32 times before stopping. I found this mildly interesting as the feel of the image gives off a horror/thriller vibe.
This style of photography gives the subject a disorientated effect that presents more "Ghost like" Although it gives the disorientated effect you have to get your subject to move in order for it to be successful, The flash gun comes into play when the subject is moving as the flash goes off, the flashing light captures the movements in frames of light that makes the subject appear to have a slight paranormal movement in the image. On a DSLR camera this is achieved by having the shutter speed at 1/2.5, the aperture at f5.6 and the IOS between 200-100. The slower shutter speed held capture most of the frames although you might have to take a few photos in the process instead of just one incase its not slow enough. The low ISO helps intake the smaller amount of light (if you're in a dark area) and prevents over exposure.
Narrative Deconstruction

If I was presenting, this image would be the last photo to be shown but for example purposes I'm showing this image first so that people have an understanding to "The Narrative Image". Images, in general, can be used to tell stories, this is known as a narrative. A single image can tell a story that involves the passage of time and allows us to compare/reflect on the progress of the story This is where the reconstruction, building the image back up, would commence but because Ive started the process backwards we are deconstructing.

This is the first breakdown of the image, straight away you can tell the narrative has changed in comparison to the first image. this section

this is the subject I have chosen to be the source of the whole image. upon first sight this figure immediately stood out to me, primarily because he is in the centre of the image but also when you recognise him, he seems to have the most attitude just by the way his figure is held.